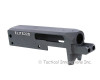
STBA™ INSTALLATION KIT FOR STAINLESS TRIGGER & BUSHING ASSEMBLY for AR15/M16
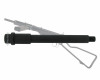
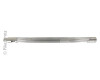
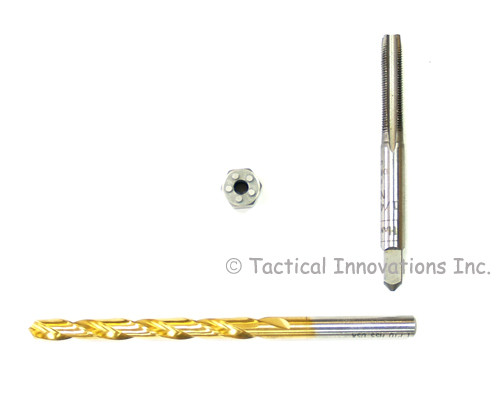
Installation Kit includes one each of: Drill Bit Size #1, 1/4x40 Tap, Bushing Driver Tool
You will have to have available: Drill, Locktite, 1/8" Allen Wrench
This Installation kit DOES NOT include any bushings or receiver pins
and only includes the installation tools which can be used many times
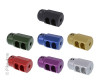
to install receiver bushings on many receivers. The bushings and
receiver pins that are installed in each receiver must be ordered
separately online at STBA - AR15/M16 STAINLESS TRIGGER BUSHING & HEX HEAD PIN ASSEMBLY.
Although you could have a professional machinist or gunsmith do the installation, its generally not necessary. Retrofit installation requires the hammer and trigger pin holes to be drilled and tapped to 1/4x40 to allow the bushings to be threaded into the receiver. Obviously, once you install stainless steel bushings in your receiver you would not be able to later use standard hammer and trigger pins (and would have no reason to ever want to). The installation is not technical and takes only about 5 to 10 minutes.
Overall Rating: 5 out of 5 1 reviews
For installation of the STBA bushings, all you would have to do is accurately drill the existing .154 holes on the same center point using the #1 drill bit. Its important to make sure that you don't wobble or similar and make the holes oversize. Then with a hand tap and some tap oil, use the 1/4-40 tap to carefully hand tap the holes.
Next you will want to thoroughly clean the holes with acetone or similar to remove all oil and residue. Then blow dry and apply some red locktite and using the installation tool or allen wrench as appropriate, screw the bushing into the threaded holes being very careful not to cross thread them. We don't have a torque spec other than tight but not to the point that you damage the threads, the bushing or the tool.
Allow the locktite to set before use. When you install the hammer and trigger pins, they may be tight in the bushings and that's good. However, you have to ensure that the pin will allow the hammer to freely rotate. You can do this by putting the pin through the hammer before you install both in the receiver and make sure the hammer rotates freely. If the hammer binds on the pin, something has to give and as a fail safe, the right bushing will unscrew from the receiver. Under normal use with a correctly sized and lubricated hammer, it will work as intended and not be an issue. The pins are captured in the receiver by the spring identically to a GI lower set.
 This product can expose you to chemicals including lead, which are known to the State of California to cause cancer and birth defects or other reproductive harm. For more information go to www.P65Warnings.ca.gov.