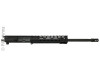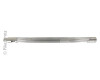
PIKE ARMS® TAKEDOWN STYLE BARREL HARDWARE BUNDLE
In order to complete a Pike Arms® Takedown Style Barrel, you will need the stripped barrel as well as the barrel hardware. The Pike Arms® Takedown Barrels are sold without the associated takedown barrel hardware so if you already have the required additional parts, you are not forced to purchase them. However, if you need the barrel hardware or don't want to take it off of a Ruger factory barrel, the barrel hardware parts are available individually per each corresponding part number below or you can purchase all of the required barrel hardware that is specific to a takedown style barrel in this money saving bundle.
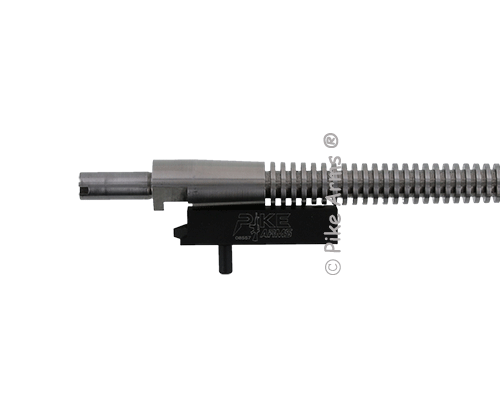
The follow parts are included in this Pike Arms® Elite22TD™ Takedown Style Barrel Hardware Bundle:
#08557 - Pike Arms® Takedown Barrel Locking Block
#08619 - Pike Arms® Takedown Barrel Locking Block Screws - Pair
#08615 - Pike Arms® Takedown Barrel Lock
#08618 - Pike Arms® Takedown Barrel Lock Spring
#08616 - Pike Arms® Takedown Barrel Actuator
#08617 - Pike Arms® Takedown Barrel Actuator Retainer
Each part is billet CNC machined then professionally either hard anodized or blued to ensure exceptional durability and reliabily and are ready to be installed on your Pike Arms® Takedown barrel. None of the parts are cast or MIM injection molded.
NOTE 1: The parts in this Pike Arms BARREL HARDWARE BUNDLE are
specifically for the barrel and do NOT include hardware that is
specific to and attached to the receiver itself. All parts related to the takedown barrel assembly that are
attached to the barrel when the barrel is removed are included in this
bundle. Parts that are attached to the receiver when the barrel is
removed from the receiver are available
separately (Part #08626) and are NOT included with this Pike Arms Takedown Style Receiver BARREL HARDWARE Bundle.
INSTALLATION INSTRUCTIONS
 This product can expose you to chemicals including lead, which are known to the State of California to cause cancer and birth defects or other reproductive harm. For more information go to www.P65Warnings.ca.gov.